Posted on Leave a comment

Homemade Baby Food: A Fresh Start to Healthy Eating

sweet potato puree


By Cheryl Tallman and Joan Ahlers –
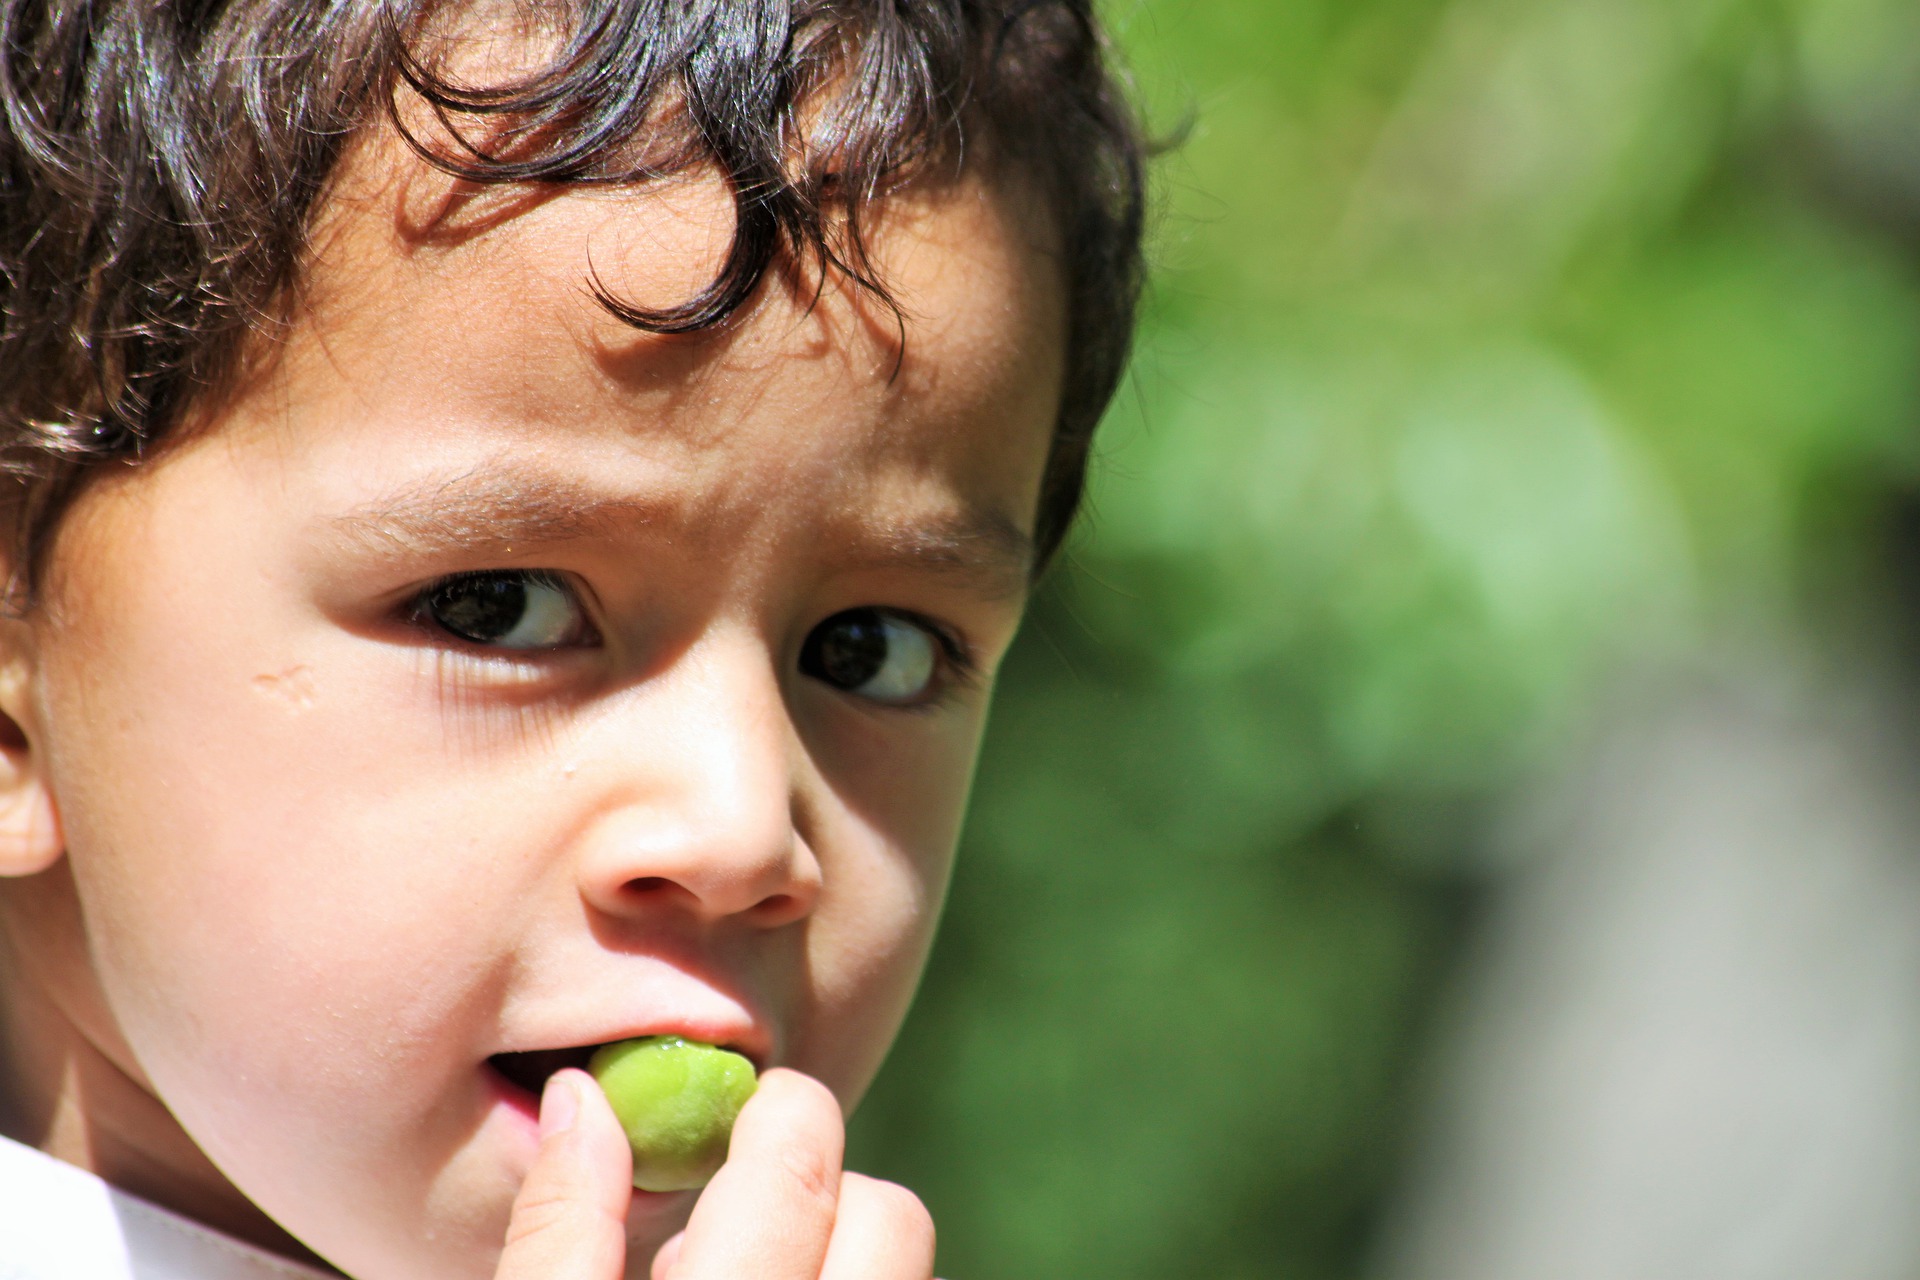
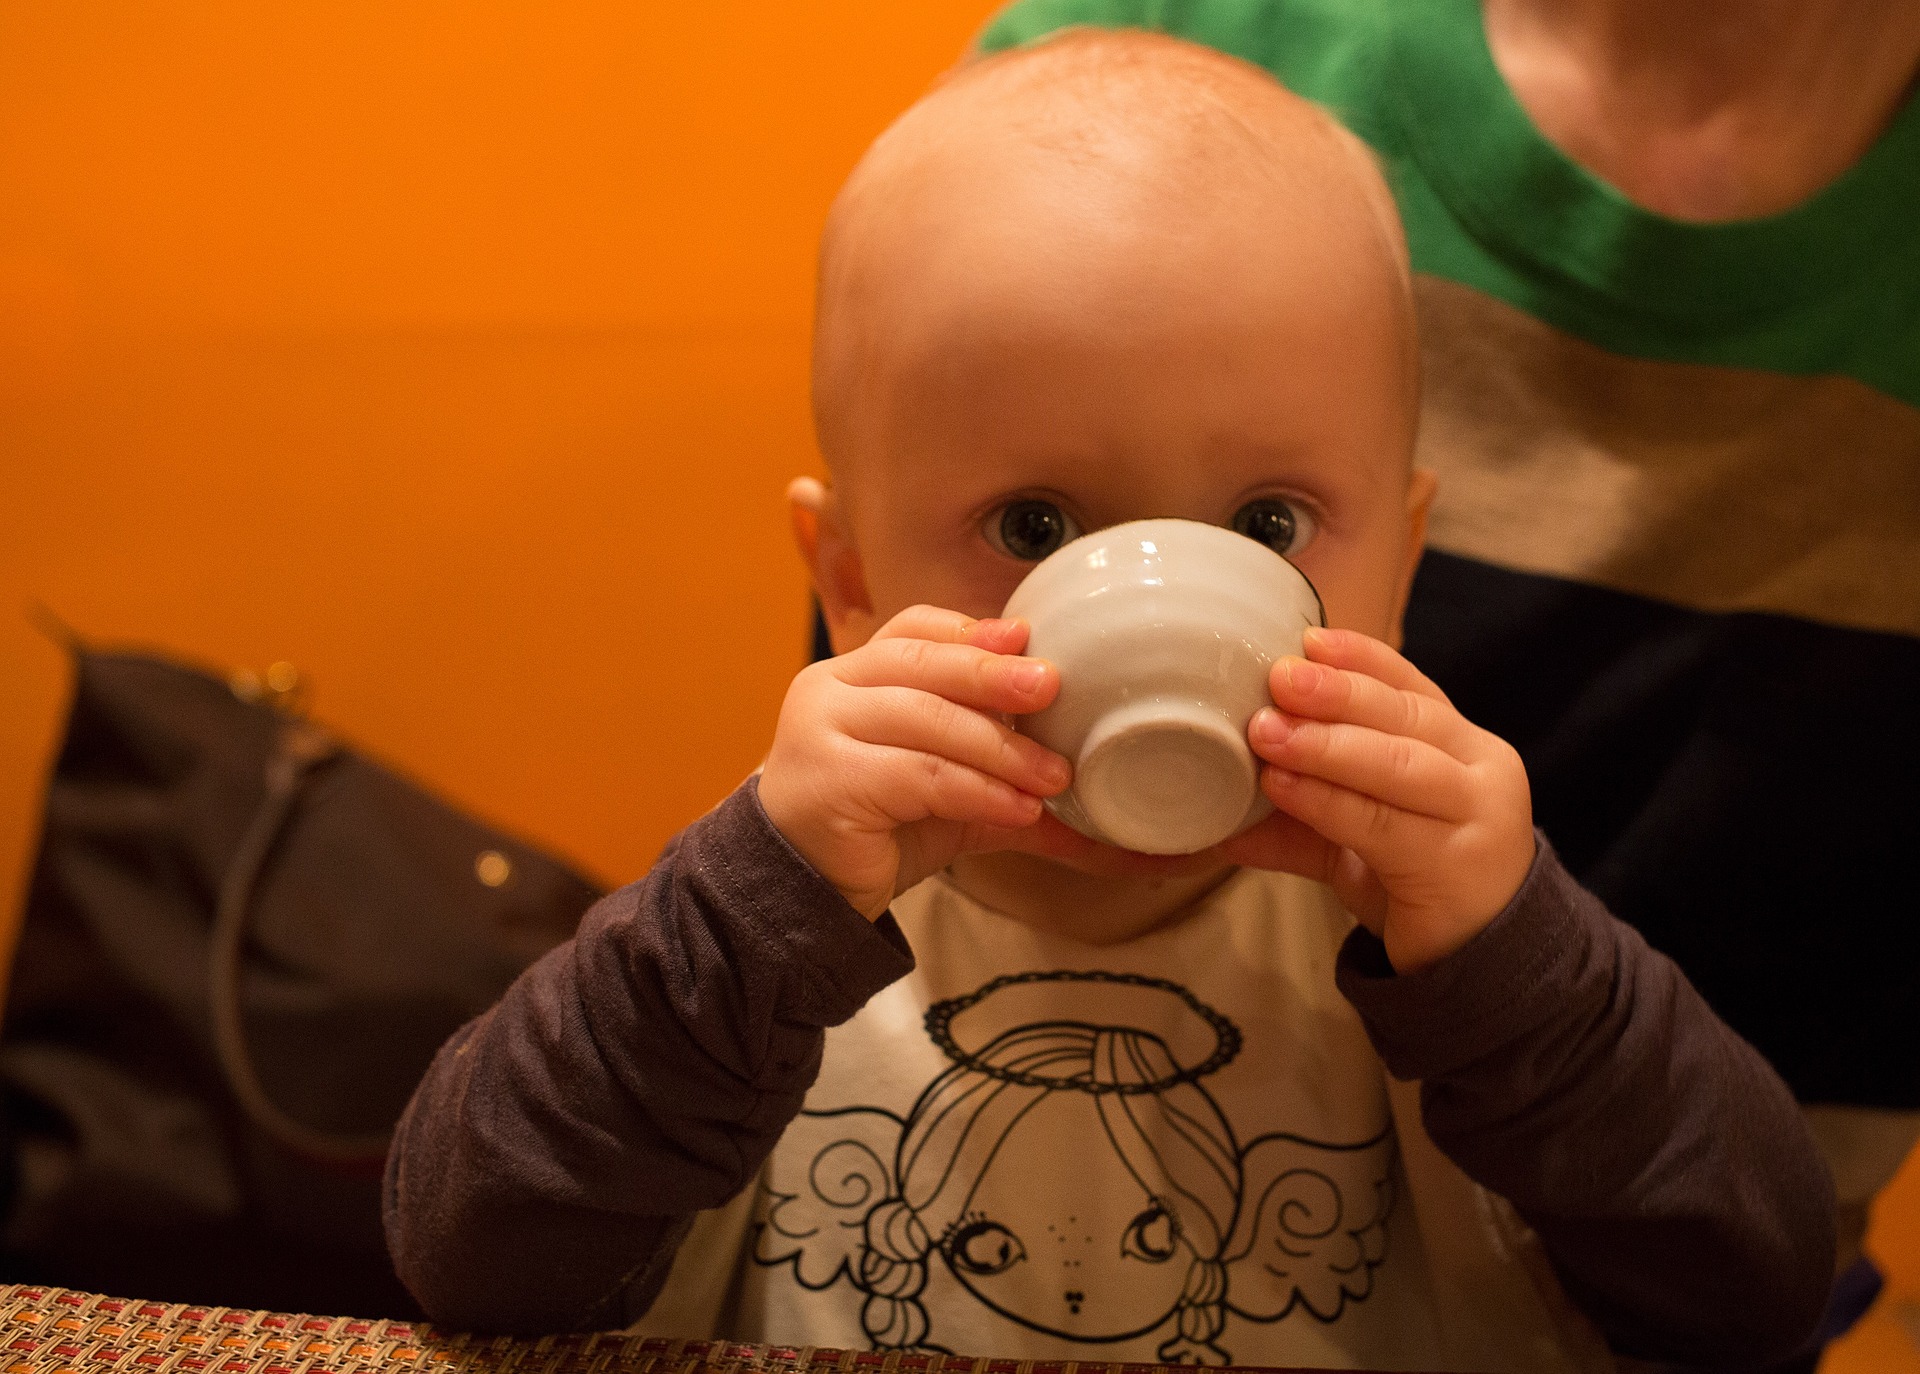
Introducing solid foods is a very important step in your baby’s development and well-being. In fact, studies show that babies who are fed nutritious, healthy diets grow into stronger kids and better-adjusted eaters than those who are fed poor diets.

Many parents don’t realize that making baby food at home is a simple and economical plan to provide your baby with the best in quality, nutrition and taste. It makes it easy for you to ensure your child gets the best start possible. Making baby food using fresh, all-natural ingredients has many benefits, including:

  • Increased nutritional value
  • Elimination of additives
  • Improved freshness
  • Added variety
  • Enhanced control
  • Lower costs

Increased nutritional value

Vitamins and other nutrients are critically important to your baby. For the next three years, your baby will experience rapid growth and development. It is essential that he be fed a healthy and nutritious diet to maximize his growth and development process.


Processed baby foods have added water, sugars and starchy fillers. While these products are not nutritionally bad for your baby, their use in baby food dilutes the nutrient content of the actual foods. To make matters worse, processed baby foods are cooked at high temperatures to kill bacteria, so they can be stored in jars at room temperature. Bacteria are not the only things that are eliminated in this process. Vitamins and nutrients are also destroyed. Many baby food manufacturers compensate for the loss of vitamins by artificially adding some of them back in after the food is processed.


When you make baby food at home, you can cook it quickly. This process not only preserves the wonderful color and taste of the food, but most importantly it maximizes the foods’ nutrient content for your precious baby.

Elimination of additives

Processed baby foods contain trace amounts of chemicals, including pesticides, herbicides and fungicides. Although the U.S. Food and Drug Administration has approved these chemicals, you may choose not to feed your baby products containing them. Buying certified organic produce (fresh or frozen) and preparing food at home eliminates agricultural chemicals from your baby’s diet.


In addition, many varieties of processed baby foods add ingredients that are not essential or beneficial to your baby’s diet. These can include ingredients such sugar, butter and salt. Most healthcare professionals will recommend you avoid the introduction of these foods until your child is much older. Homemade baby food is pure, wholesome food with nothing added that you did not add yourself.

Improved freshness

Have you compared fresh green peas to a jar of pea baby food? Even though they are the same food, they don’t look, smell or taste similar. While your baby does not have the refined palate of an adult, he does respond to taste, color and smell. With the enormous availability of fresh produce in your grocery store and the simplicity of making baby food, there is really is no reason he needs to be deprived of colorful, tasty, great-smelling baby food. And serving fresh food from the very beginning will help your baby be more open to tasting new flavors and types of food.

Additional variety

Processed baby food is developed for the mass market and, as a result, is limited in variety. Variety is key to a balanced diet and healthy living. Today’s grocery stores offer a tremendous variety of fresh and frozen fruits and vegetables. There is no reason why your baby should be limited by what food manufacturers consider the most popular foods. What’s more, preparing baby food at home enables you to add herbs, combine flavors, and easily introduce new textures, making your baby’s mealtime a pleasurable, gourmet experience.

Enhanced control

As a parent, you want to understand and trust the ingredients in your baby’s diet. Similarly, you want assurance concerning the purity, safety, quality and consistency of such ingredients. Preparing baby food at home provides you with control of your baby’s diet and knowledge of exactly what goes into your baby’s food. The more involvement you have with what you are feeding your baby, the more likely you are to nurture healthy eating habits.

Lower costs

Processed baby foods are expensive. The average baby in the United States will consume 600 jars of baby food. Parents who use processed baby food spend an average of $300 or more on baby food during their infant’s first year of life. Making baby food at home is extremely cost-effective, as foods may be purchased either in season or on sale. On average, baby food prepared at home can cost as little as $75 in the first year.


With all these benefits, you may think that it is difficult to make baby food, but it is a lot easier to make than you may imagine. Using fresh produce, a blender and set of ice cube trays, you can make food in quantity and freeze it in single servings. This means you only need to make food once or twice a week. The bottom line, it takes about 30 minutes a week. Here is a simple and easy recipe for a common first food:
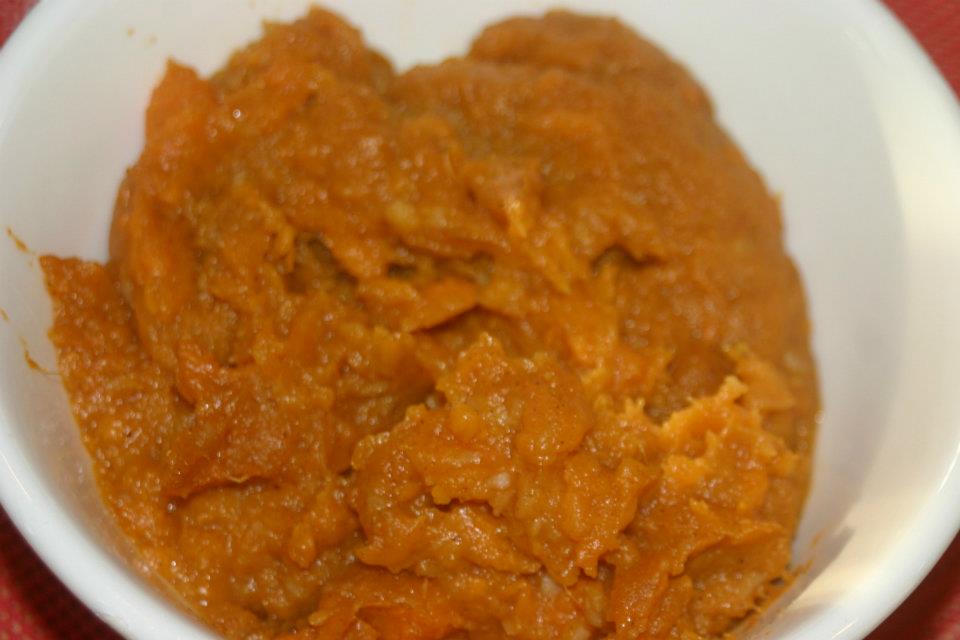
Sweet Potato Puree

Time needed: 20 minutes

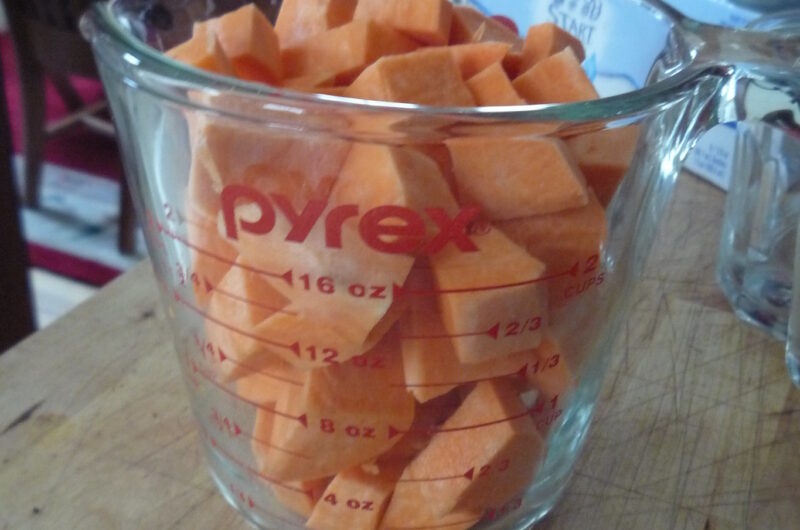
2-3 medium to large sweet potatoes

  1. Prep

    Wash, peel and chop sweet potatoes into one-inch (3 cm) cubes

  2. Cook

    Place sweet potatoes and 2 Tablespoons (30ml) of water in a microwave-safe dish. Cover. Cook 8-10 minutes. Let stand for 5 minutes. They are done if the sweet potatoes can be mashed easily with a fork
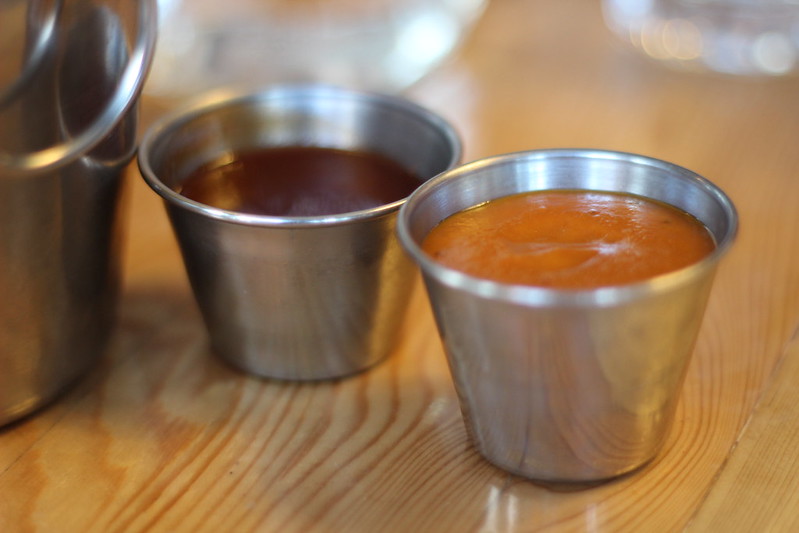
  3. Puree

    Place sweet potatoes and cooking juices into a blender or food processor. Add ½ cup (60 ml) of water. Puree. Add an additional 1/4 to ½ cup (60 – 100 ml) of water, as needed, to develop of smooth texture.

  4. FREEZE

    Spoon into So Easy Baby Food Trays or ice cube trays. Cover. Place in the freezer for 8-10 hours or overnight. Remove cubes from trays, place them in a storage container or freezer bag, and return them immediately to the freezer.


Makes 24 one-ounce servings. Stays fresh for 2 months in the freezer.
To serve, select frozen sweet potato cubes from the freezer, defrost and warm, check the temperature, and feed.


Posted on Leave a comment

Introducing Finger Foods to Your Baby

Finger Food Mania: Tips and Recipes for Introducing Finger Foods to Your Baby

By Cheryl Tallman and Joan Ahlers

There is nothing cuter than watching your little one chase food around the highchair tray with her fingers, and seeing the sense of accomplishment in her face when a tiny little piece of food actually makes it her mouth.
When your baby is between eight and nine months old, you can begin to introduce finger foods to encourage your baby to begin self-feeding. It is very important that the texture of finger foods be very soft, so that your baby can “gum” the foods. To get food soft enough for gumming, many of them will need to be cooked.

Examples of finger foods that can be served raw include small pieces of:

  • Banana
  • Avocado
  • Tofu
  • Semi-hard cheeses — Jack, Colby, (introduce over 12 months)
  • “O” shaped cereal
  • Puffed rice cereal

Examples of cooked finger foods:

  • Apples slices
  • Pear slices
  • Whole asparagus spears
  • Carrots sticks/rounds or baby carrots
  • Zucchini or yellow squash rounds
  • Broccoli spears
  • Sweet potato slices or cubes
  • Whole green beans

To smooth the way for introducing finger foods here are few tips that may help you out:

  • Always feed your baby in a “seated position.” The risk of choking rises as you introduce finger foods.
  • Never let your baby eat foods without adult supervision.
  • Don’t be in a rush. Introduce finger foods one at a time and slowly add different ones.
  • Continue to feed your baby softly, pureed baby foods for most of the meal, and transition to more finger foods over a six- to eight-month period.
  • Start with foods your baby likes.

Here are few toddler finger food recipes to help you get started with finger food fun!

Sweet Potato Cubes – Yummy Toddler Food


Your baby will like the bright orange color and sweet taste of these little morsels. Babies have a natural sweet tooth developed from drinking breast milk or formula, which are sweet. The natural sweetness of sweet potatoes make them a favorite baby and toddler food!

Sweet Potato Cubes

Recipe by Cheryl TallmanCourse: Ages and Stages, Baby
Servings

4

servings
Prep time

5

minutes
Cooking time

5

minutes
Calorieskcal

Ingredients

  • sweet potato

  • cinnamon (optional)

  • nutmeg (optional

  • ginger

Directions

  • Wash, peel and dice sweet potato into small cubes about ½ – 1;-inch in size.
  • Place the cubes in a microwave-safe dish, cover, and cook them in the microwave on HIGH for 5 to 7 minutes
  • Let them stand for 5 minutes. You’ll know they are done if you can mash them with a fork.

Notes

  • Storage: Covered container. Stays fresh four to five days in the refrigerator or up to two months in the freezer.
  • What age to introduce? About nine months
Golden Delicious Apples

Cinnamon Apple Slices


Your baby will like the sweet juicy flavor and the challenge of picking these up will help develop her fine motor skills. These are super easy to make and great for any meal or as a snack!

Time needed: 15 minutes

  1. Wash, peel and core 1-2 golden delicious apples.

  2. Cut the apples into slices about 1/4-inch thick.

  3. Place the slices of apples in plastic bag and sprinkle a dash of cinnamon over the apples slices.

  4. Close the bag and shake it up so the cinnamon is distributed evenly over all of the slices.

  5. Place the slices in a microwave safe dish and cook them in the microwave on HIGH for 3 minutes.

  6. Let them stand for 5 minutes.

  7. They are done if a fork slides into them easily. Cool completely before serving.

Storage: Lasts four to five days in the refrigerator or up to two months in the freezer.

What Age to introduce:

About nine months

Dusted Tofu Cubes

These nutritious, little cubes are fun to pick up and they taste good too! For a little variety, you can use banana instead of tofu.

Ingredients

  • 1/4 teaspoon flax seed, finely ground

  • 1-2 tablespoons of Cheerios (or other cereal) OR 2-3 graham crackers

  • 5-6 1/2-inch cubes of firm tofu

Directions

  • Place ground flax seed and cereal/graham crackers in a bag and crush into crumbs.
  • Add tofu and shake lightly to coat the tofu cubes with the crumb mixture.
  • Serve immediately.

Age to introduce:

Over 12 months (without flax seed 8-10 months)

Your toddler is sure to love these yummy toddler foods.

Posted on Leave a comment

Healthy Toddler Treat: Creamy Cranberry Dipping Sauce

cranberry yogurt dipping sauce

By Cheryl Tallman and Joan Ahlers

Yummy Toddler Food

Toddler Meal Kit

On Sale Now!
Click on image
Sugar Bee Baby earns commissions from sales

Toddlers love to play with their food. Dipping sauces make foods taste good and provide your child with an activity that makes meals and snacks more fun. These two recipes are for children one-yer old or older. Enjoy these yummy dipping sauces – one for fruits and another for veggies, tofu, and meats.

What age to introduce cranberries to baby?

Over 12 months (cooked/juice/sauce).

Over 18 months (dried).

Creamy Cranberry Dipping Sauce

Healthy Toddler Treat: Creamy Cranberry Dipping Sauce

Recipe by Sugar Bee BabyCourse: Ages and Stages
Servings

4

servings
Prep time

5

minutes
Cooking timeminutes
Calories

40

kcal

Ingredients

  • 3/4 cup 100 percent cranberry raspberry (or grape) juice

  • 1/2 cup sour cream

  • 1/2 cup vanilla yogurt

Directions

  • Combine ingredients in a small mixing bowl, whisking until smooth.
  • Serve hot or at room temperature.
  • Perfect for dipping fruits and veggies

All about cranberries

The cranberry is a Native American fruit that grows on trailing vines like a strawberry, and thrives in wetland areas, called bogs. Cranberries are harvested in September and October.

The most common technique for harvesting is known as a “wet” harvest, which involves flooding the bogs with water to float the fruit for easy collection. In the winter the frozen water insulates and protects the vines.

The North American cranberry has a distinguished history. Native Americans used cranberries as food, in ceremonies, and medicinally.

Revolutionary War veteran Henry Hall planted the first commercial cranberry beds in Dennis, Massachusetts in 1816. Today they are farmed on approximately 40,000 acres across the northern United States and Canada.
Cranberries are available in a variety of product forms including fresh, juice, dried, and sauce.

Cranberries are a healthy fruit.

They contain no cholesterol and virtually no fat and are low in sodium and contain significant amounts of antioxidants and other phytonutrients. They may help protect against heart disease, cancer, aging, and other diseases. Cranberries contain bacteria-blocking compounds that are helpful in preventing urinary tract infections, and possibly ulcers and gum disease.

Cranberries for the family

Cranberry up your Thanksgiving meal by trying some of these tasty and simple ideas.


1. Football snack: Add dried cranberries to any nut mixture.

2. Salad: Sprinkle dried cranberries on mixed green or spinach salad. The sweetness of the cranberries is terrific with any vinaigrette dressing and is a great compliment to crumbled blue cheese or goat cheese.

3. Side dish: Add dried cranberries to your favorite stuffing, wild rice, or couscous recipe.

4. Veggie: Sauté onions, diced zucchini, and dried cranberries in olive oil. Season with a dash of turmeric, cinnamon, and rep pepper flakes. Great taste and awesome color!

5. Most important cranberries are yummy toddler food!

5. All American apple pie: Add ½frac12; cups of fresh cranberries to your favorite apple recipe.

6. Treat the whole family to fresh cranberry sauce. Make this simple recipe that can be made ahead of time.

Cranberry Mustard Dipping Sauce

Details

Servings
Prep time

3 minutes

Cooking time

0 minutes

Calories

30

Ingredients

  • 1/2 cup jellied cranberry sauce

  • 1 1/2 tablespoons grainy Dijon mustard

  • 1 tablespoon brown sugar

Directions

  • Combine ingredients in a small mixing bowl, whisking until smooth.
  • Serve hot or at room temperature.
  • Serve with raw/blanched veggies, baked tofu, chicken fingers or fish sticks.
https://sugarbeebaby.com/homemade-baby-food/
Posted on Leave a comment

The top 5 ways to get your “picky eaters” to eat

by Margie Manion

Feeding your child, especially toddlers, can be such a daily hardship for so many parents! You wonder if they are getting enough food, the right foods, and whether or not they are on a healthy and normal eating schedule.


I have provided some simple ways of ensuring a positive eating experience for even the pickiest eaters.

Here are simple ways to ensure a positive eating experience for picky eaters

  1. Make sure they are really hungry

    Don’t worry about the fact that your baby isn’t interested in eating- they will let you know when they are hungry! Kids are on their own schedule and the goal is to ultimately get them on our schedule. They may not be hungry at your 6:00 dinnertime. They may be starving at 4:30- it is a process! If your child isn’t hungry at dinnertime and you think it is because they are snacking all day, make sure they are snacking on healthy foods and you will feel better about them not eating a full meal.

  2. Positive environment.

    Give your child the gift of time. Nobody likes to be rushed when they are eating. Calm parents and surroundings will set you up for a delightful experience. Children feed off of your emotions, if they since forcefulness or desperateness, you may be pushing them away. Most pediatricians will tell you to evaluate what your child has eaten over a three day period- not one day.

  3. Special feeding spoon.

    No parent can escape the inevitable struggle of trying to get a child to open wide during mealtime, and we’ve all tried the age-old trick of making the airplane noise. You might try a baby food dispensing spoon which when you squeeze it dishes out a spoonful of food and doesn’t require having to return to the bowl to get more food .

  4. Be Creative.

    Choose foods that are brightly colored, or arrange them in funny shapes or faces on your child’s plate. Expose your children to a variety of foods. Just because you don’t like it doesn’t mean your child won’t.

  5. Involve Your Child

    Mealtime is a family event. Even if your child refuses to eat, they should still have to sit at the table with the rest of the family. You can also involve older children to help with the preparation. Children can tear lettuce, wash veggies, and even set the table. Kids are more likely to eat the food if they were involved in the process. Make it an ‘event’ in your family by planning it, looking forward to it, and talking about it!

Posted on Leave a comment

How much should a 1-2 years-old eat?

toddler eating

By Cheryl Tallman and Joan Ahlers

Parents often wonder how much food should their little ones (1-2 years old) be eating.

Recent media coverage suggests over the past 20 years, restaurants and food companies have been increasing their serving sizes. This trend is considered to be a contributing factor in the rise in obesity (among adults and children).
We all know that children should eat less than adults. After all, they are smaller. The following are some serving size guidelines for a 1-2 year old that may help you out.

Milk/Dairy: Servings:

16-20 ounces of milk per day. Whole milk, soy or rice milk are recommended. Other equivalents: 1/2 -3/4 ounce of cheese = 4 ounces of milk. 1/4 cup of yogurt = 2 ounces of milk.

Fruits and veggies:

Servings: 5 or more per day. Serving size: 1-2 tablespoons – Pureed, mashed, or cubed.

Grains: Servings:

3-4 per day. Serving sizes: 1/2 slice of bread, 1/4 cup of cooked cereal, 1/4 cup of dry cereal. 1/4 cup of pasta, 2-3 saltine crackers, or 1/2 tortilla.

Non-dairy proteins (meat, fish, beans, eggs): Servings:

2 per day. Serving sizes: 1/2 egg, 2-3 tablespoons beans (i.e. black, pinto, edamame, etc…), 1 tablespoon peanut butter, or 1 ounce of fish, lean beef, pork or chicken.

Posted on Leave a comment

Pear Nog a Healthy Snack Toddlers are Sure to Enjoy

toddler drinking pear nog

By Cheryl Tallman and Joan Ahlers

Homemade Toddler Snack

A fruit treat the whole family will love but made for toddlers.

Make this festive toddler snack anytime but for sure at Christmas holiday time. Nutrients and hydrations from this fruit and milk based snack that toddler will actually drink.

Healthy Toddler Snack: Pear Nog

Recipe by Cheryl TallmanCourse: toddler snack, preschool snackDifficulty: Easy
Servings

3

servings
Prep time

10

minutes
Cooking timeminutes
Calorieskcal

Ingredients

  • 1 pear peeled, cored and cut in chunks

  • 1 cup of egg nog (dairy or soy)

  • Dash of cinnamon2 ice cubes cracked

Directions

  • Place all ingredients in blender. Blend at high speed for 15 seconds.

More toddler’s food recipes

Baby Weaning Kit


On Sale Now! Click Image.
Sugar Bee Baby makes acommission on sales.

Healthy Toddler Meal: Cauliflower Soup Recipe

Healthy Toddler Treat: Carrots and Cashews

Posted on Leave a comment

Healthy Toddler Treat: Carrots and Cashews

cashews

Parenting Toddlers:

Healthy Toddler Meal Side Dish: Maple Carrots and Cashews

By Cheryl Tallman and Joan Ahlers

Baby carrots are very toddler-friendly and most children love cashews. We’ve teamed up these two great tastes in a simple side dish recipe that will appeal to both the young and old.

Healthy Toddler Treat: Carrots and Cashews – Parenting Toddlers

Recipe by Cheryl TallmanCourse: SidesDifficulty: Easy
Servings

5

servings
Prep time

5

minutes
Cooking time

20

minutes

Ingredients

  • 1 pound baby carrots

  • 1 cup chicken/vegetable broth

  • 2 Tbsp butter

  • 1 Tbsp maple syrup

  • 2 Tbsp chopped cashews

Directions

  • In a saucepan bring the chicken (or vegetable) broth to a boil.
  • Add the baby carrots and return to a boil.
  • Reduce heat to low and simmer for 3 minutes.
  • Remove from heat and pour carrots and broth into a colander to drain. With the saucepan still hot, add butter and honey and stir until melted. Add the carrots and toss gently. Transfer carrots to a serving dish and sprinkle the carrots with chopped cashews.

Toddler Meal Kit – Less Mess- Easy Clean Up